A professional headshot is a close picture of your head and shoulders with sharp eyes, soft even light, a calm background and an expression that looks like you. You can take one at home with the phone you already have. This guide goes through it in the order you would do it: light, background, camera, outfit, pose, and how to choose the best photo.
What you need
- A phone with a rear camera (it is sharper than the selfie camera).
- A window with daylight, and a plain wall.
- Something to hold the phone still: a tripod, or a stack of books with the phone leaning on it.
- The phone's timer, or a friend to press the button.
Step 1: Find the light
Light does more for a headshot than the camera does.
- Stand facing a window, a step or two back from it, in daylight. Soft light from the front fills in the face and makes the eyes bright.
- Turn a little toward the window rather than straight at it if the light looks flat.
- Avoid a window behind you (your face goes dark) and a lamp on the ceiling (shadows under the eyes and nose).
- A cloudy day is good: clouds soften the light. If the sun comes straight in, hang a white sheet or a thin curtain over the window.
- A white sheet or a sheet of white card held below your chin, out of the frame, bounces light up and softens shadows.
Step 2: Choose the background
- Use a plain, light wall or a door with nothing on it. White, light grey and beige are safe.
- Stand a meter or more in front of the wall. The farther you are from it, the softer it looks, and the less your shadow falls on it.
- Take down pictures, switches in the line of sight and plants that seem to grow out of your head.
- No wall free? A large bed sheet pinned up works.
Step 3: Set the camera
- Eye level. A camera held lower looks up your nose; held higher it shrinks your forehead. Put the phone on a stack of books until the lens is at your eyes.
- Distance. Stand about one and a half to two meters away and zoom in a little (2× on many phones), instead of holding the phone close with a wide lens. A close wide lens bends the face.
- Vertical, with room around you. Leave space above your head and at the sides, so you can crop to 4:5 or a square later.
- Focus on your eyes. Tap your face on the screen. If you are using a timer, check one photo before you take thirty.
- Turn on the grid, and keep the camera level.
Step 4: Wear the right thing
- A solid color that suits your skin and sits well against the wall: blue, navy, grey, green and burgundy are easy.
- A collar or a clean neckline. A shirt, a blazer or a fine-knit sweater look sharper than a T-shirt.
- No logos, small checks or thin stripes, which shimmer on camera.
- Iron it, and check the collar in the mirror. Dress for the field you work in.
Step 5: Pose and expression
- Turn your shoulders slightly away from the camera, then turn your face back to it. Straight-on shoulders look like a passport photo.
- Push your chin a little forward and down. It sounds odd and looks natural.
- Relax your shoulders and drop them away from your ears.
- For a smile that looks real, think of something you actually find funny, and let your eyes smile too: a slight narrowing of the eyes. A mouth-only smile looks fixed.
- Take many photos in rounds of five, breathe, shake out your face, and go again. The best ones are usually after the first twenty.
Step 6: Choose and finish
- Zoom in to your eyes. If they are not sharp, it is out.
- Look for flyaway hair, a twisted collar and a busy line behind your head.
- Crop to head and shoulders. For a profile picture that shows in a circle, keep your face in the middle with a little room around it.
- Edit lightly: a touch of brightness, and a crop. Do not smooth your skin until it looks plastic; people notice when they meet you.
Mistakes that spoil a home headshot
- A selfie taken at arm's length with the wide lens.
- A lamp on the ceiling, or a window behind you.
- A cluttered room behind you, a bright color on the wall.
- A pose with your shoulders square to the camera and your chin up.
- One photo, taken once.
If you would rather start from a selfie
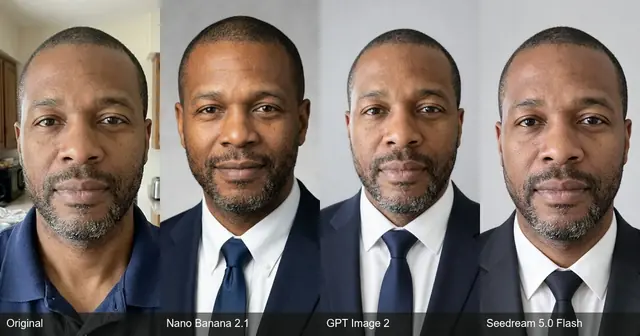
You can also take a plain selfie in daylight and let AI turn it into a headshot: pick the outfit and a calm background, and see the cost before you generate. PicYep's AI LinkedIn headshot generator and the general AI headshot generator work this way. Your photo guides the face, the hair and the build, so the tips above about light and a clear face help there too.
Questions
Can I take a professional headshot with my phone?
Yes. A phone is enough if the light is good: stand facing a window in daylight, put a plain wall behind you, hold the camera at eye level from about two meters away, and take many photos. Light and background matter more than the camera.
What is the best background for a professional headshot at home?
A plain, light wall in a neutral color such as white, light grey or beige, with you standing a meter or more in front of it so it stays soft and free of shadows. Avoid shelves, doors, patterns and anything with a strong color.
How far should the camera be for a headshot?
About one and a half to two meters from you, with the lens at eye level, then crop to head and shoulders. A close selfie held at arm's length makes the nose look larger and the face rounder than it is.
What should I wear for a headshot?
A plain, well-fitting top in a solid color, with a collar or a clean neckline. Avoid logos, busy patterns and bright whites that take over the frame. Choose what you would wear to a meeting in your field.